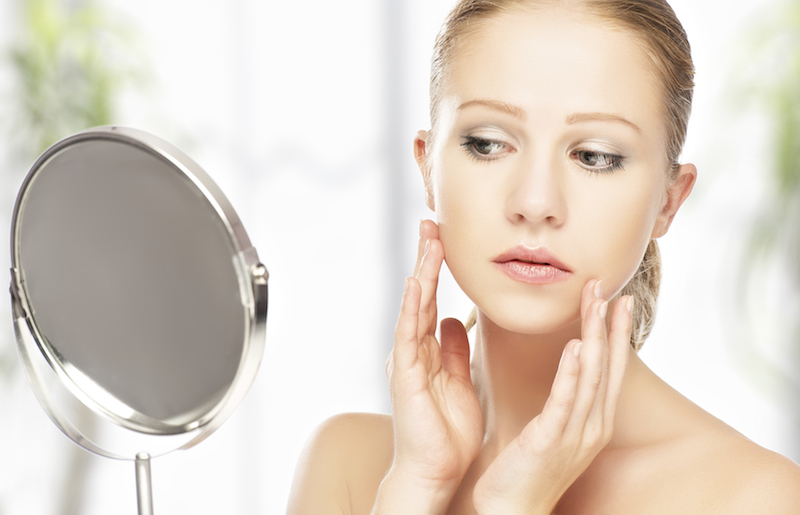
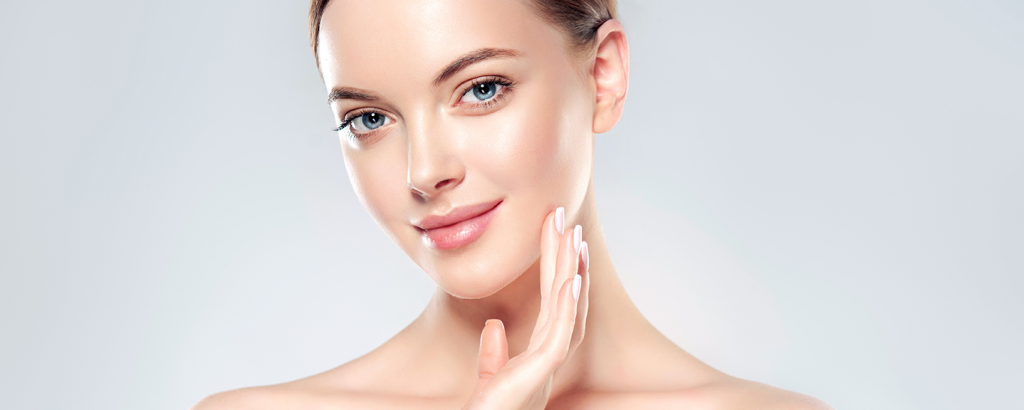
Facial massages are not only relaxing, but they also have a positive effect on our skin. You can counteract the ageing process of the skin with simple home facial massages.
The face has many nerve endings and pressure points, depending on the type of facial massage; you can achieve holistic relaxation or better blood circulation in the face. For instance, gentle stroking movements will allow you to relax and release blockages, while circular tapping movements stimulate blood circulation and enable care products to penetrate well into the skin.
Facial massages will help make your skin appear firmer and fresher and the best thing about it: If you want to save yourself a visit to the professional masseur, you can use simple tricks to perform the facial massage yourself at home! Here are some tips and steps that you can follow to complete your facial massage at home:
1) The Time
The perfect time for a facial is in the evening. If you have redness, you will have enough time for it to disappear, and the skincare products can be absorbed all night long. It is also a time for rest, which can have a positive effect on sleep.
To begin treatment, the face and hands must be thoroughly cleansed.
A steam bath before you begin can also open the pores of the face and facilitate the removal of dead skin cells. The application of rich skin oil or cream facilitates the massage and has a positive effect on existing wrinkles.

2) Forehead massage
When massaging the face, horizontal wrinkles can be levelled out. At first, the forehead is stroked; for this purpose, place the right hand on the left temple and pull through the forehead. Repeat the same process with the left hand for the other side. Then, bring both hands to the temples and initiate slow circular movements. It is vital to use as little pressure as possible. In a semi-circular motion, the hands are brought to the frown crease and guided along with the eyebrows in circular movements. Finally, use your index and middle fingers to smooth the frown lines towards the hairline.
3) The Eye Massage
The eye muscles are circular. To loosen the muscle circle, place your index finger on the outside corner of the eye and run along the lash line toward the nose without applying pressure. When the inner corner of the eye is reached, the finger pulls up and back, so that it lands back on the starting point. Then, add small circular motion on the cheekbone and close to the eye area. With a little oil or a cream, the small wrinkles of the eyes can be massaged in a short time.

4) Nasolabial Area
The hands are moved from the eyes to the top of the nose and positioned on the right and left sides. Slowly and with slight pressure, the nose is massaged downwards. Repeat this movement a few times and then loosen the lips with a light massage. Make an inverted V with your index fingers and let them slide down your upper lip. Similar to forehead massage, the lower corners of the mouth are stroked, by pulling the right hand from the left corner of the mouth to the other side and repeating with the left hand on the other side.
4) Jaw Massage
The tension in the jaw can be felt quite quickly and intensely. If you press your teeth together, the muscle fibres are visible. Let the mouth area loosen up again and follow the course of the muscles in a circular motion. The pressure can be increased as desired so that the jaw is completely relaxed after a while.

5) Neck and Chest Area
In the end, the neck and chest area are massaged with great movements so that the care products gradually make their way into the skin layer.
Have you ever tried facial massage at home? Share your experience with us in the comments below!